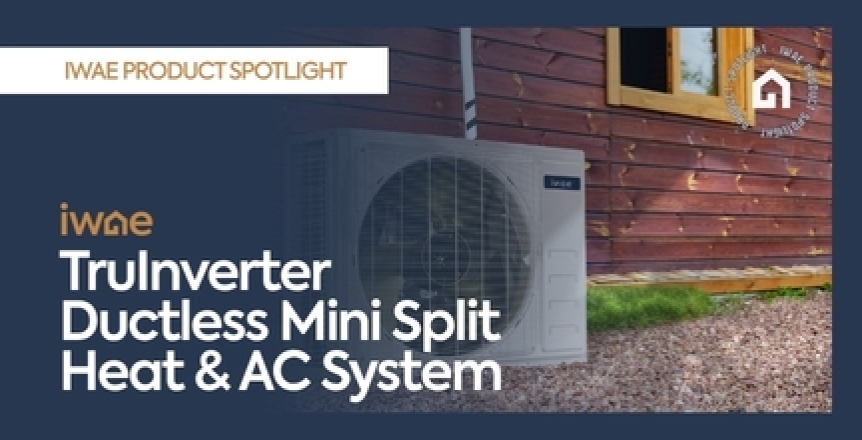

The TruInverter Mini-Split Heat Pump from IWAE is easy to install. You just need the IWAE TruInverter, plus the DIY Pre-Charged Line Set with R-32 refrigerant from MrCool. You'll find them as a bundle exclusively at iwae.com. Now, let's begin with the air handler installation.
Each system comes with a wall mounting template. You'll place it where you want the handler, get it level, and use its outlines to mark your screw points to cut the hole through your exterior wall. Once complete, unscrew the mounting bracket from the back of the handler, and mount it to the wall using the marks you made from the cardboard template. Make sure and check that the bracket remains level as you mount each screw. Now carefully pull the line set 90 degrees out from the back of the air handler and remove its dust cap.
Then take the fittings for the MrCool R-32 line set and match them to the corresponding valve. Secure them first by hand and then more securely with a crescent wrench or your preferred fastening tool. You want them snug but not too tight. Once properly secured, it's time to attach the fittings to the MrCool R-32 line set. Secure them just as you did the fittings to the stop valve. In this installation, we unrolled the line set outside and then ran it through the hole drilled in the wall into the air handler's room.
Alright, once secure, you'll pass the pin lock through the holes connecting the line set and the fittings. Repeat this process for the other port. Next, you'll connect the 2 condensation lines and then wrap the line set, the communication wire attached to the handler, and the newly connected condensation line to make them easier to pass through the hole in your exterior wall. Now, gently maneuver the lines through the hole, ensuring the condensation line is at the bottom and doesn't have a kink or a bend. Once through, attach the top of the handler to the top of the bracket and snap the system down.
Then, head outside and place the TruInverter on the MrCool condenser wall mounting kit and secure its feet to the mount with the provided screws. This mounting kit is optional. IWAE.com also has equipment pads available. Next, remove the cover protecting the line set ports, then the dust caps.
Install the remaining MrCool line set fittings to their corresponding ports. Start by hand and then finish with the wrench, just as before— snug, not too tight. Then you'll attach the R32 MrCool line set you ran through the exterior wall.
The connection mirrors the previous one, starting by hand and getting the connection snug with the wrench. Then pass the pin lock through the holes connecting the two and repeat for the remaining line set connection.
Once done, you'll plug the air handler's communication wire to the condenser. The cable is labeled 1, 2, 3, and green for neutral. You'll find those same numbers and colored screws at the corresponding place in the terminal. Simply attach each under the embedded screws. To run power to the condenser, IWA recommends hiring a licensed electrician.
All electrical work must meet all relevant codes. See the manual for instructions specific to your system. Once everything's hooked up, you'll open the valves using an Allen wrench. Open by turning it counterclockwise until you can twist it no further. Don't apply pressure past that point.
Repeat this process for the other valve. Then you'll head up to where the stop valve and MrCool line set connect. You'll use an Allen wrench to turn the stop valve from its off setting to its on by rotating counterclockwise. Open it all the way and don't force it any further.
Do the same for the other stop valve. Once all the valves are open, it's time to reapply the caps and turn the system on.
And there you have the IWAE TruInverter, ready to heat and cool for years to come. To find out more or to shop our selection, visit IWAE.com today.